Efficient Penetration Testing: A Guide to Tool Installation (Python Virtual Environments)
In this blog I aim to cover some of the methods I use as a penetration tester to install and manage tools that I use during my testing. The goal here is to provide a basic explanation of tool management I wish I had when I was starting out.
Please note: This is simply an overview of the methods I use to install python-based tools based on the lessons I've learned over the years and from muscle memory. This is not a definitive or exhaustive guide on installing every single tool possible or a deep dive into the depths of package management or how to troubleshoot the plethora of errors you may encounter - just things I wish someone explained to me when I was new
If you do find any information incorrect or would like to share additional tips with me - feel free to reach out on socials - Happy Hacking
Synopsis
As a penetration tester you will generally be using a wide variety of tools written in various languages (such as python, bash, C#, C and Go) meant to be executed on different operating systems for different purposes. Learning the when, why, and how to use all these tools is another lesson in itself - for the purposes of this blog we will be covering basic tool management from the perspective of a penetration tester who uses Kali Linux in standard penetration testing scenarios and installs primarily python-based testing tools (much like myself).
Method 1: Using APT (not recommended)
The Advanced Package Tool (APT) is a package management system used primarily in Debian-based Linux distributions like Debian, Ubuntu, and their derivatives (such as Kali Linux). APT is a command-line tool that helps users install, update, and manage software packages on their Linux systems and is the default package manager for Kali Linux.
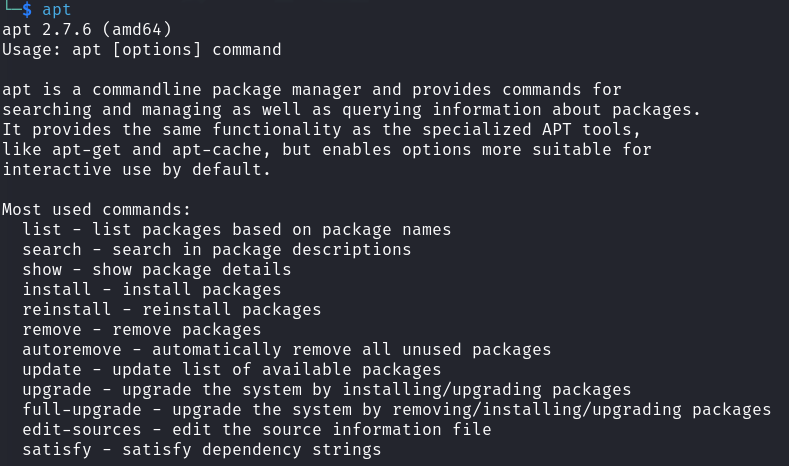
I won't be covering APT usage here as it's generally pretty easy to figure out how to install needed packages with APT. When you are new to pen-testing you may find yourself using apt to install stuff - and that's fine, I did too.
However, as I gained more experience I found that it's generally not recommended to useapt for installing python based tools. From my personal experience I found that using the apt package manager to install python tooling often lead me to "dependency hell" and caused me lot of frustration when trying to install and use tools (most likely because I didn't know what I was doing but I guess that's how you learn).
In fairness to apt, it does have it's uses from time to time such as using apt to install pipx - which we will talk more about below. Since I am writing this as if I was writing to myself three years ago, I would simply advise myself to avoid apt for things outside of simply updating your machine and base packages. That is all.
Method 2: The classic GitHub clone method (also not recommended)
In this method I will cover how I installed tools the majority of the time when I was new. For my seasoned pen-testing colleagues, the fact that this is how I installed the majority of my tools may sound alarming - and it is. However again, my goal in this blog is to simply share what I've learned over the years..including the things NOT to do.
Note: Upfront I will say that you likely shouldn't blindly clone a tool from GitHub and try to install it and run it right away - as cloning and installing right from GitHub means you are installing packages into your system-wide installation. we'll see what this means below.
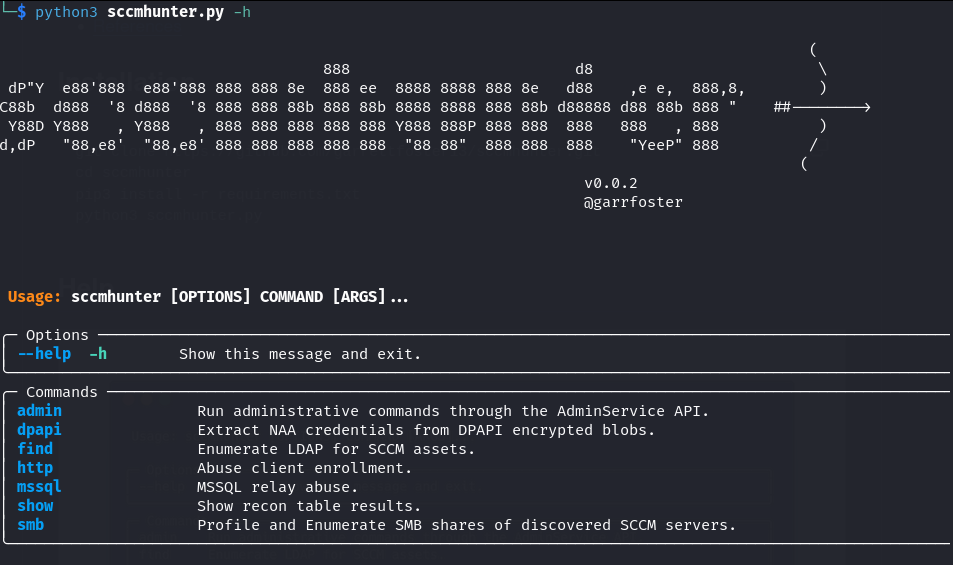
If there's a tool you want to use, and you find it lives in a GitHub repository you can simply clone the repository to your machine and run it. Lets look at the tool SCCMHunter as an example.
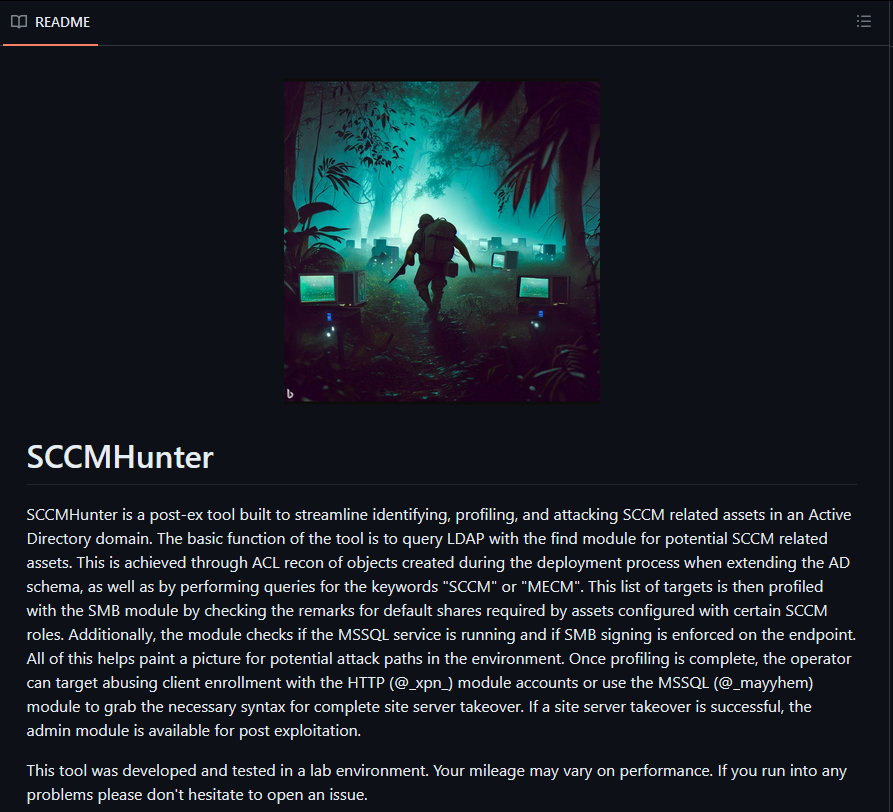
As the description states, SCCMHunter is a post-ex tool built to streamline identifying, profiling, and attacking SCCM related assets in an Active Directory domain. This is a great tool written by a former colleague of mine - shout out to Garrett!
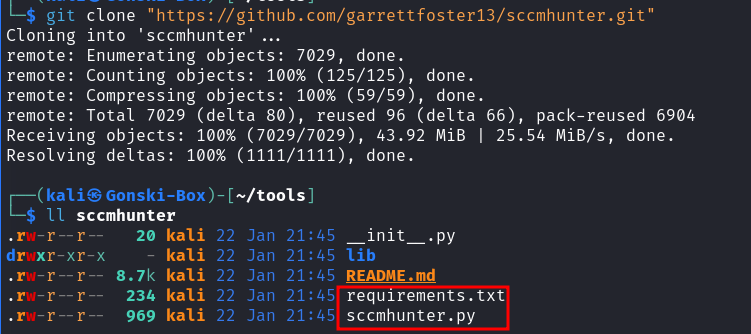
Let's install this tool using what I am calling the classic "Git Clone method" (which again you probably should avoid doing unless you are familiar with python package management). First we navigate to the repository where this tool lives (here) and copy the HTTPS URL to clone it.

With the URL in our clipboard we can simply open a terminal on our Kali machine (our testing machine) and clone the repository with git clone <URL>
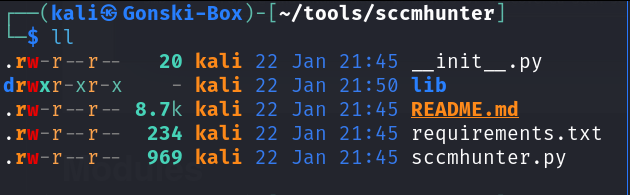
Once the repository is cloned to our machine we can enter the directory of the repository where we see one file of note (The requirements.txt file)
With the repository cloned - lets go back to the tool's repository to take a look at the README for any installation instructions.
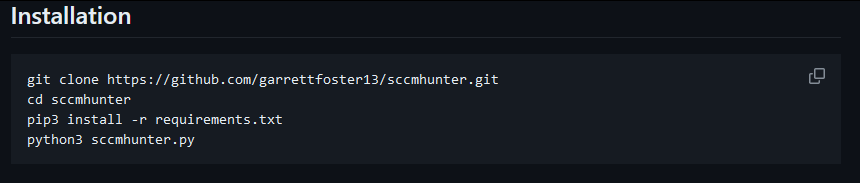
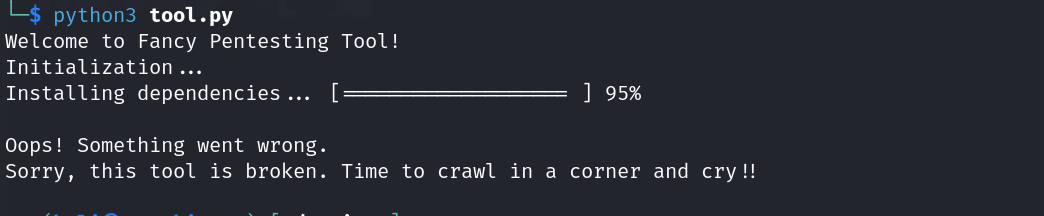
Here we see a set of neatly provided installation commands. For the sake of demonstration, let's just try running the tool before following the installation instructions (not recommended).

As expected the tool doesn't execute successfully and we see an error presented - not fun, but OK lets actually follow the installation instructions this time.
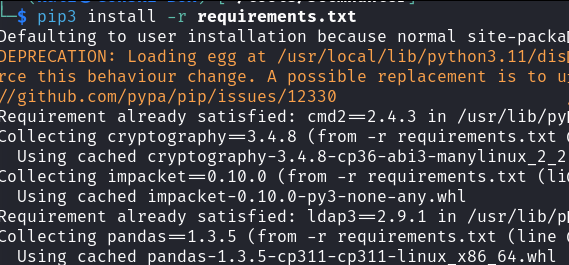
We run pip3 install -r requirements.txt as the installation notes state - but wait, whats this?

Numerous errors are displayed and in our frustrated stupor we decide, "eh lets just try to run it anyway."
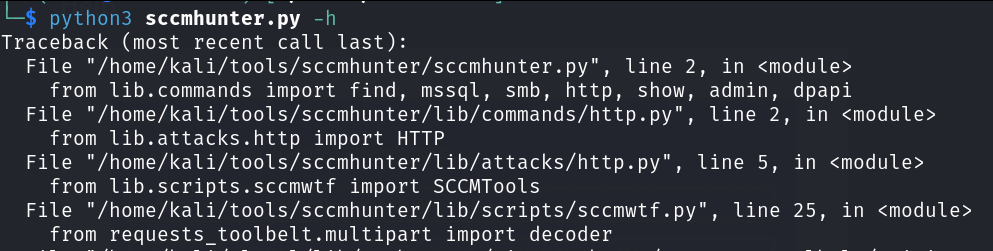
Congrats! You've now just found yourself facing the same notorious collection of traceback errors I fought with for many many months as a new penetration tester. And better yet, your tool still doesn't work.....
So while you may find that you can sometimes successfully install and use tools using this method, understand that because you are installing into your system-wide python installation with this method, this is where you can, and will likely run into issues with overlapping dependencies or mis-matched versioning on specific modules.
So how should we go about installing our tools then?
You should always try to install your tools in a virtual environment to keep installation and dependencies isolated from your system-wide installation for the sake of 'cleanliness' and to ensure you don't find your self with broken packages on a pen-test.
Which is a perfect segway into the the third method of tool management - how to install tools using Virtual Environments!
Method 3: The "Use a virtual Environment" Method (much better and recommended)
This method of installing tools involves using a virtual environment to install the desired tool and subsequent dependencies/packages. The pros to a virtual environment are simply that you can install packages/tools without worrying about breaking things in your testing machine/environment since a virtual environment is isolated from your system-wide installation.
Back when I was brand new to pen-testing and someone told me to install a tool using a virtual environment, I really didn't know what that meant or how to go about it so let's dive into it.
For this third method I'll be demonstrating the use of Virtualenv. If you want to learn more about the differences between Virtualenv and it's alternatives check out this link: https://pythonhow.com/what/what-is-the-difference-between-venv-pyvenv-pyenv-virtualenv-virtualenvwrapper-pipenv/
Using Virtualenv
virtualenv is a third-party tool used in the Python programming language to create isolated, self-contained Python environments. These isolated environments allow you to install, manage, and isolate Python packages (tools) and dependencies.
(which means you can install tools and dependencies without worrying about breaking stuff)
Let's use SCCMHunter again in this example - but this time lets "install it in a virtual environment" - the right way.
Similarly to how we began the 2nd method of tool installation with SCCMHunter let's
Copy the repository URL and clone the tool to our system
Change directories into the
SCCMHunterdirectory
Cool, here we are once again. To install this tool "in a virtual environment" (you can use this method for virtually any python based tools/packages) Let's start by creating a virtual environment within the SCCMHunter directory.
virtualenv --python=python3 /path/to/tool/directory
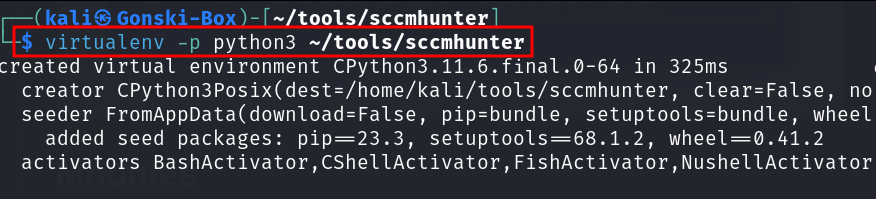
The previous command creates a new virtual environment placed in the ~/tools/sccmhunter directory and specifies that it should use Python 3 as the base interpreter. This means that the virtual environment will be isolated and configured to use Python 3 for running Python scripts and managing packages.
Great, now our virtual environment has been created. Continuing on, we now need to activate or enter our virtual environment. We can do this by executing
# Execute from within the desired tool's directory
source bin/activate
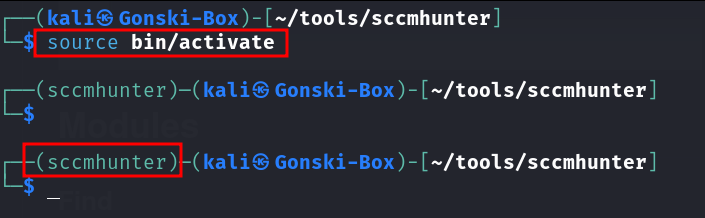
After activating, you should see the name of your virtual environment in the terminal prompt, indicating that you are now working within the virtual environment. Now, any Python packages you install or Python scripts you run will be isolated within this environment, separate from your system-wide Python installation. Lets continue with installation of SCCMHunter.
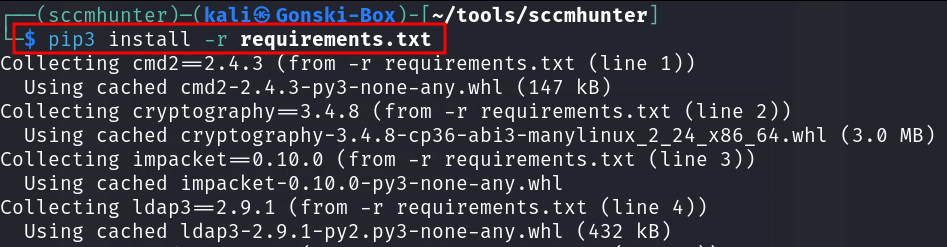
Referencing the original installation instructions, we are instructed to install any dependencies housed in the requirements.txt (this file just contains the required python modules and dependencies needed for the tool to run) file by executing
pip3 install -r requirements.txt
Previously when we tried to install all the required dependencies, we were met with an ugly series of errors - likely because our system wide installation was missing modules. However since we are now completely isolated within our sccmhunter virtual environment, the installation of dependencies executes successfully! Now we can run the tool safely from within our virtual environment.
In conclusion - when someone says to "install it in a virtual environment" this is how you can do it. Now you can take this procedure and apply it to all the various python-based tools to avoid the frustrations that come with dependency hell. When you are done with the virtual environment or need to exit one particular virtual environment before activating another simply type deactivate.
Here's a collection of the commands needed to spin up a virtual environment.
# Method 1
git clone <URL to GitHub Repo of your desired tool> /path/to/clone/repo/in
cd /path/to/your/tool
virtualenv --python=python3 .
source bin/activate
pip3 install -r requirements.txt

#Method 2 (if there is a setup.py file present)
git clone <URL to GitHub Repo of your desired tool> /path/to/clone/repo/in
cd /path/to/your/tool
virtualenv --python=python3 .
source bin/activate
pip3 install .
#OR
python3 setup.py install
#Now run your tool!

# To deactivate/leave your virtual environment
deactivate
Read more about virtualenv here!
Using Python's venv module
Virtualenv isn't the only tool you can use to install and manage python packages and python-based tools in a virtual environment. In fact python3 also contains a module called venv that can do the very same thing as virtualenv (although I just prefer virtualenv).
See the steps below for using the python module for creating virtual environments to safely install your tools - the process is basically the same.
To create a virtual environment, go to your tool's directory and run the following command. This will create a new virtual environment in the folder where you cloned your tool to
python3 -m venv /path/to/tool/directory
Before you can start installing or using packages in your virtual environment you’ll need to
activateit (just how we did it previously). To install and setup the tool simply follow the same steps we covered with virtualenv above.
Method 4: Using Pipx - A Slight variation of method 3 (The best method)
This brings us to Method 4 of tool management: Using pipx
pipx is a Python package that allows you to install and manage Python tools in isolated environments separate from your system-wide Python environment (similarly to virtualenv. It enables you to install and run Python tools as if they were standalone executables, making it easier to manage and update them.
Using pipx to install and manage tools has become my personal favorite method by far. This method eliminates the manual process of creating and then activating a virtual environment and instead, pipx takes care of it all automatically.
To install pipx we will need to use our old friend, the apt package manager. You can install pipx using these commands:
sudo apt install pipx
python3 -m pip install --user pipx
python3 -m pipx ensurepath
# After running the 3rd command here, you may need to re-source your path with
source ~/.zshrc
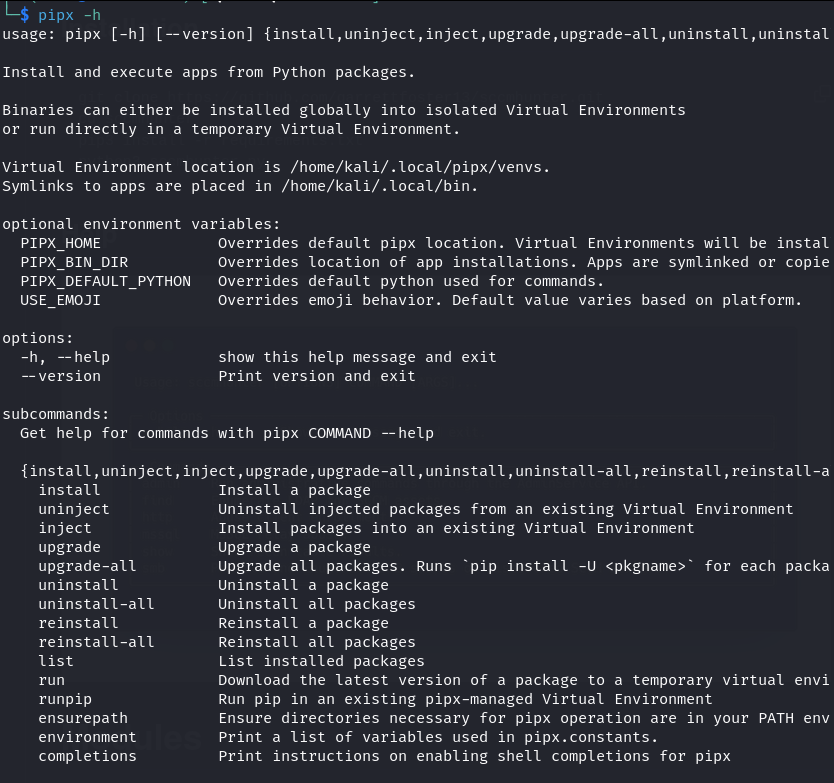
Once installed, you can confirm pipx is ready to use by running pipx -h
With pipx installed, lets install Certipy-AD as an example.
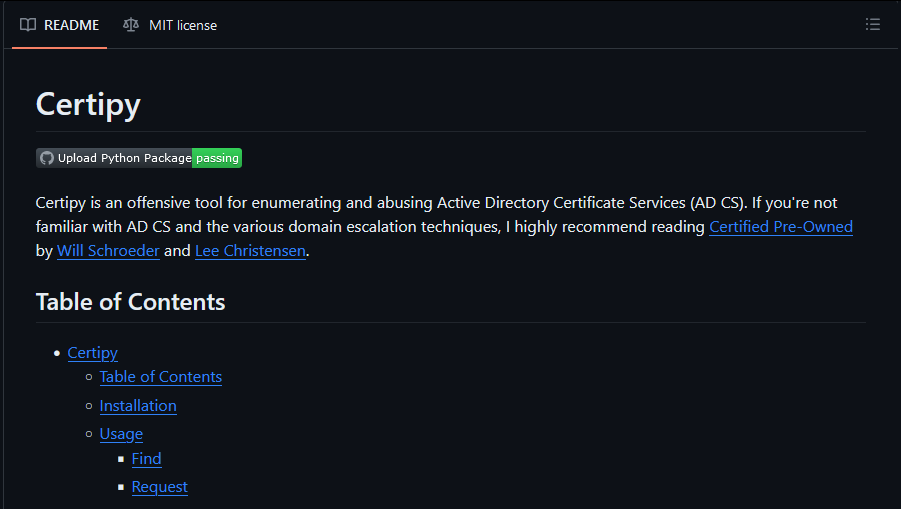
As the README states - Certipy is a fantastic offensive tool for enumerating and abusing Active Directory Certificate Services (AD CS). I have used this tool on multiple occasions to successfully compromise enterprise networks.
If you haven't already - you should read Certified Pre-Owned by Will Schroeder and Lee Christensen.
The nice thing about pipx is that it uses the PyPI (Python package index) so any package (or tool) that exists within this package index can be easily installed with ONE command. You can access the Python Package index here to see if your tool is already present.
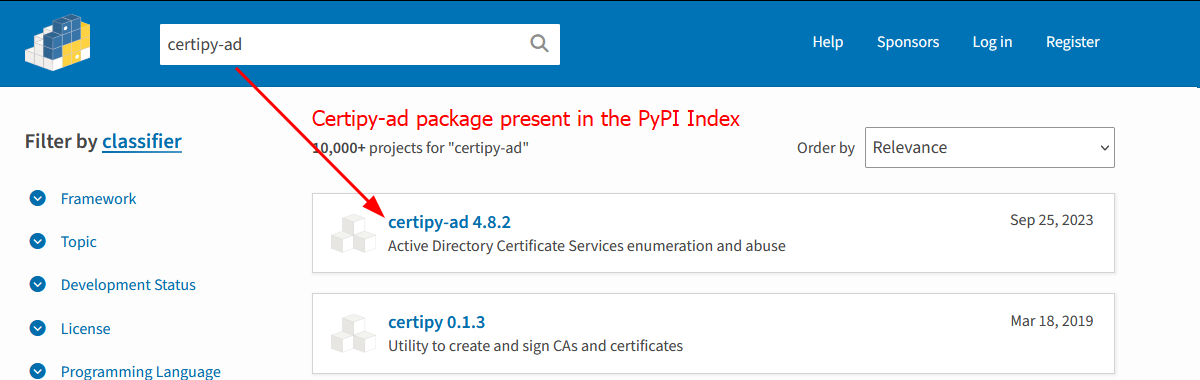
First we confirm that certipy-ad is available for download in the PyPI index. From here installation is as easy as running a single command:
pipx install certipy-ad

Our new tool is safely and successfully installed and now we can start attacking ADCS with certipy-ad!
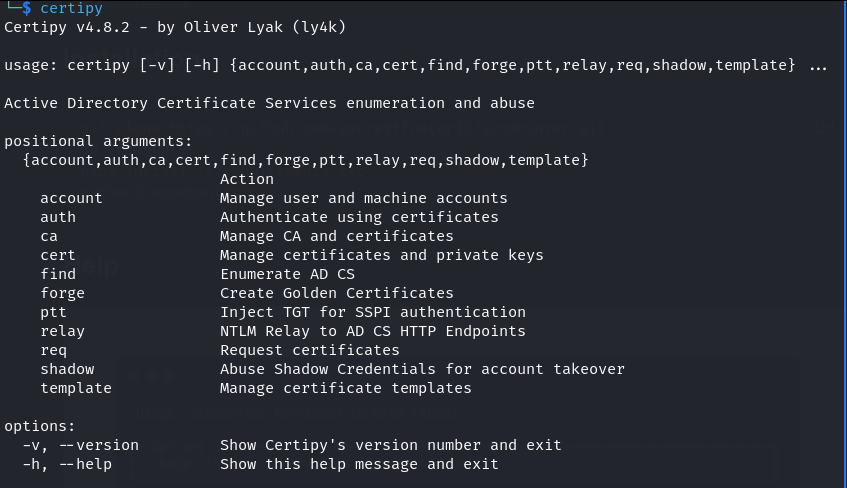
If you're wondering if it's really that easy - yes, yes it is. While this might not be news to some - I wish I would have known about this years ago.
"But what if the tool I want isn't listed in the PyPI index?"
That's a great question - and thankfully pipx is also able to install packages via source control (from GitHub). Lets install the same tool from Certipy's GitHub Repository.
To install a tool with pipx from Github, simply navigate to the repository and copy the repository's URL
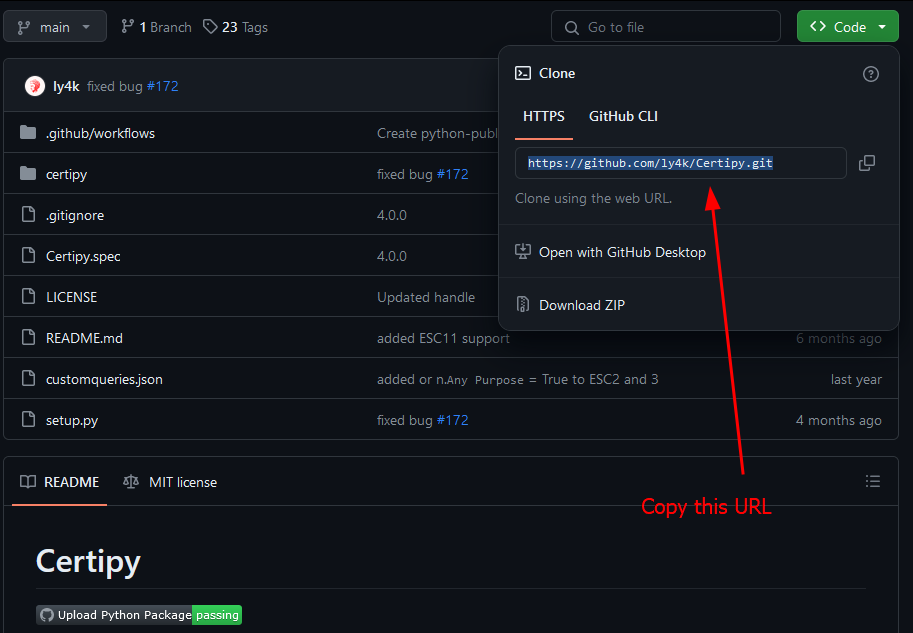
Now we can install with pipx by running
pipx install "git+https://github.com/ly4k/Certipy.git"
And boom, just like that we have again installed certipy-ad with pipx from GitHub - and the best part of it all is that the tool gets installed into a virtual environment so we don't break anything on our machine.

setup.py or pyproject.toml file . If neither of these requirements are present you can simply fall back to the 3rd method covered here and install it "manually" using virtualenvRead more about using pipx here and here!
Method 5: Using Pre-Compiled Binaries
Occasionally there will be times where the author of a tool has conveniently provided us with pre-compiled, standalone executable binaries of a tool. In this case all we need to do is download the pre-compiled binary for our system and we can run the tool.
As an example, lets take a look at Kerbrute
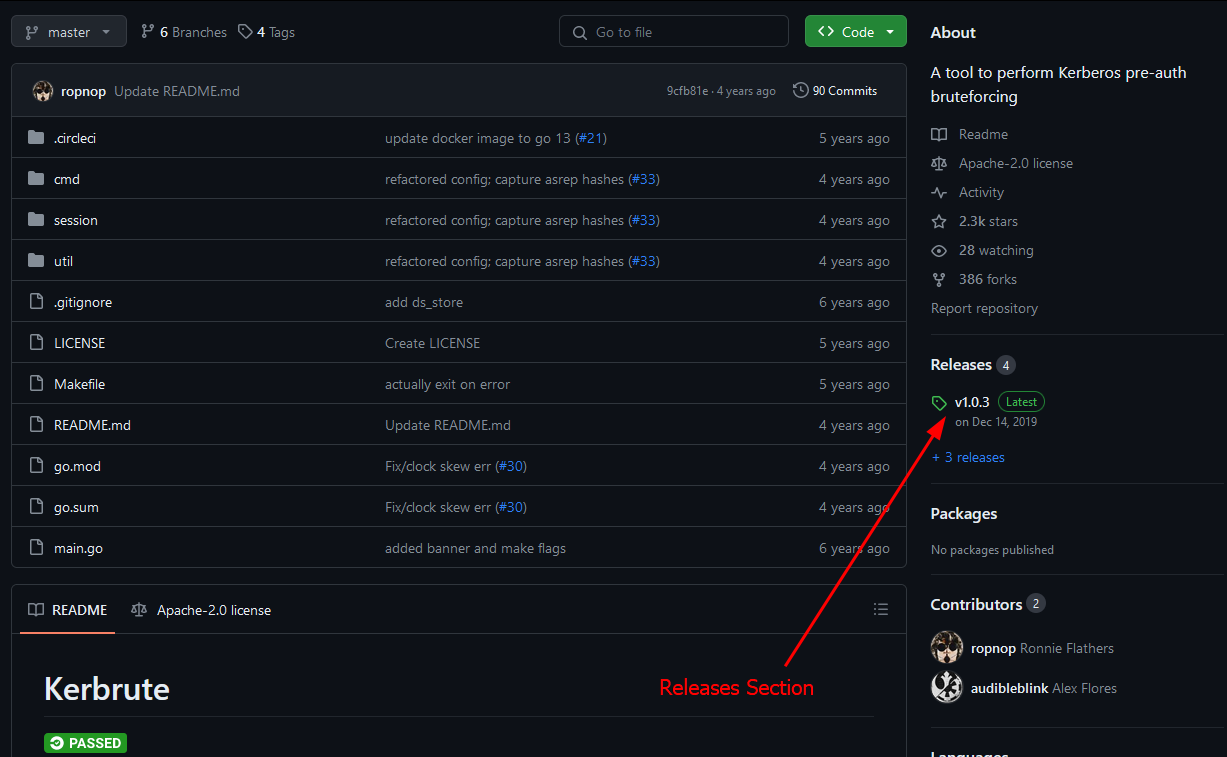
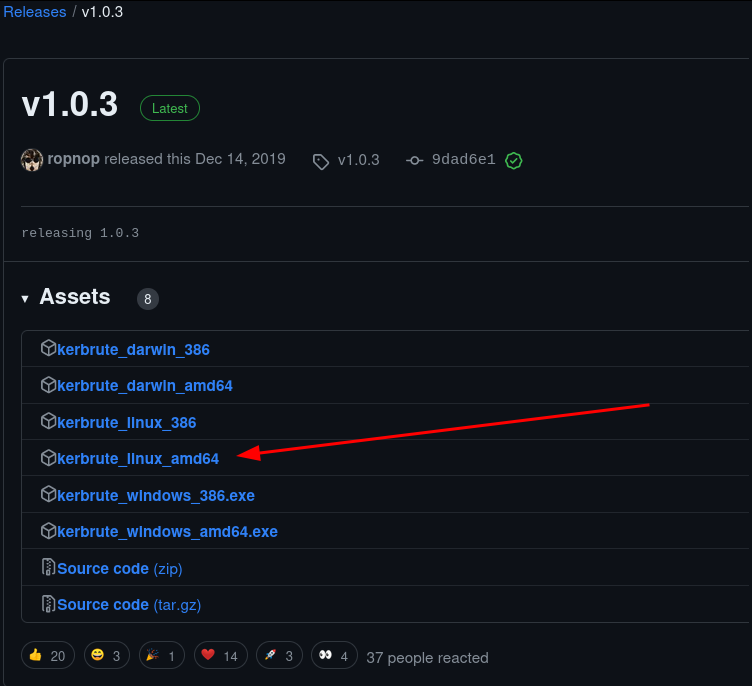
Navigating to the 'Releases' section of this repository we can see multiple pre-compiled binaries that we can simply download and run. Since we are running this tool from a Linux machine lets select the kerbrute_linux_amd64 executable.
After downloading the executable/binary, we can use chmod +x kerbrute_linux_amd64 to make the file executable so that we can simply run it.
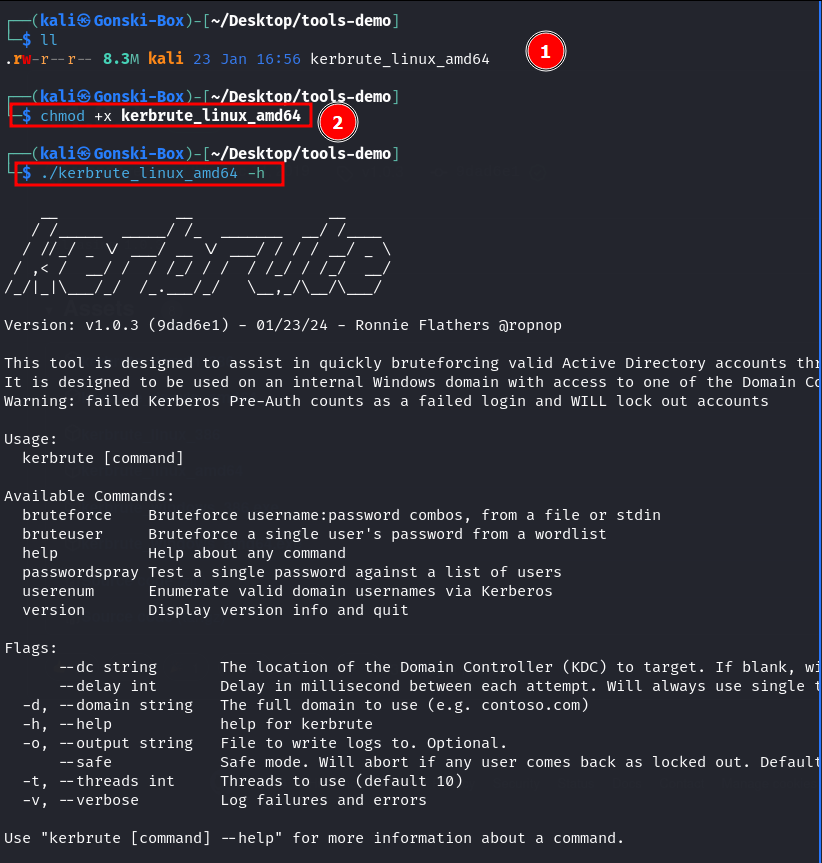
Now we can use Kerbrute to do Kerbrute-things.
Pre-compiled binaries are a great alternative to 'installing' tools if they are provided and available since all the necessary dependencies are already packaged into the file. This is especially the case with windows based tooling such as Mimikatz, Rubeus and others.
Great References
Below are some great references on this topic - check them out for further reading!